
- Home
- Blog
- Blog Post Formatting Guides
- Create Blog Thumbnails Easily with Canva | A Simple Step-by-Step Guide
Create Blog Thumbnails Easily with Canva | A Simple Step-by-Step Guide
If you’ve ever scrolled through a blog, chances are the first thing that caught your eye was the thumbnail. These small yet significant images can make or break your content’s first impression.
A compelling thumbnail can entice visitors to click on your post, and today, I’m going to walk you through the steps of creating one that not only grabs attention but also aligns with your content seamlessly.
Let’s dive in and learn how to make blog post thumbnails that pop—using Canva.
Watch the following video to get detailed, visual instructions on how to create these thumbnails:
Why Thumbnails Matter for Your Blog Posts
Thumbnails serve as the visual gateway to your content. With readers’ attention spans shrinking, an eye-catching featured image can be the deciding factor between someone clicking through to your post or moving on to something else.
But beyond aesthetics, a well-designed thumbnail also helps to set the tone for your content, adds professionalism, and can even improve your blog’s overall SEO.
A clear and relevant image improves user engagement and boosts click-through rates.
Canva: The Ultimate Tool for Designing Thumbnails
When it comes to designing thumbnails for blog posts, Canva stands as one of the best options available. Why? Simply because it’s user-friendly, packed with customizable templates, and free to use.
Even if you’re not a seasoned graphic designer, Canva simplifies the process, allowing you to create visually appealing thumbnails in no time.
From personal experience, creating thumbnails with Canva offers a balance between creativity and functionality. It’s a platform that lets you bring out your personality while ensuring that your designs are professional and sharp.
Step-by-Step Guide: Creating Blog Post Thumbnails with Canva
Step 1: Setting the Right Dimensions
Start by visiting Canva.com. If you don’t have an account yet, signing up is easy and free. Once logged in, click on the “Create a Design” button and select YouTube Thumbnail as your base.
Although this option is primarily used for video thumbnails, its default dimensions of 1280 x 720 pixels work well for blog thumbnails. This size gives you plenty of room to create a high-resolution image that you can later resize.
After creating your thumbnail design, we’ll eventually resize it to fit the optimal blog dimensions—usually 750 x 500 pixels. But don’t worry, Canva makes resizing a breeze!
Step 2: Choosing a Template
One of Canva’s standout features is its wide range of templates. These pre-designed layouts provide a foundation for your thumbnail, so you don’t need to start from scratch.
After selecting the YouTube Thumbnail option, you can explore the Template section on the left side of the dashboard. Look for templates under the “YouTube” or “Blog Post” categories.
Once you find a design that fits your blog’s theme, simply click on it, and it will appear on your canvas. You can customize it as you wish—add your own images, change the text, and adjust colors to match your brand’s aesthetic.
Step 3: Adding Text and Enhancing the Layout
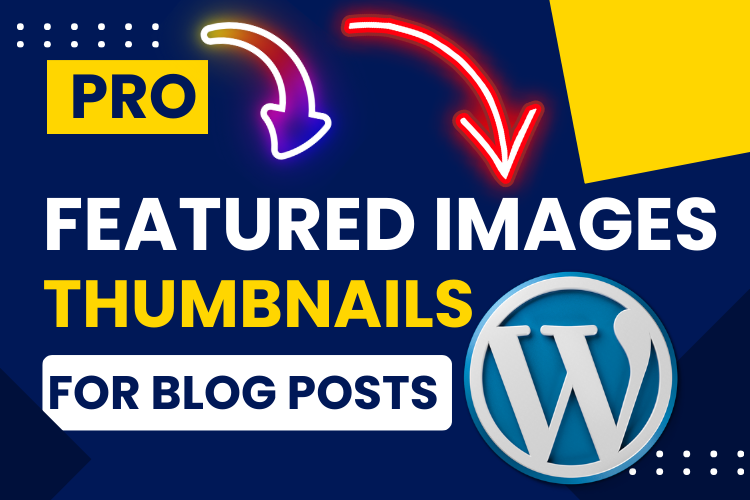
Now, let’s bring your thumbnail to life by adding text. For example, I often include the phrase “Pro Featured Image/Thumbnail for Blog Post” on my designs to give them a professional touch.
Canva offers several font options; it’s crucial to choose one that’s bold and easy to read even at smaller sizes.
You can also align and resize the text by dragging the corners, ensuring that it fits well within the design without being too overwhelming. Make sure to keep everything centered or aligned to create balance within the image.
Sometimes, I rotate elements to add a creative twist, but remember to keep things simple and clean. Too much clutter can reduce the impact of your thumbnail. A minimalist yet bold approach often works best.
Step 4: Incorporating Logos and Icons
A good way to personalize your thumbnail is by adding relevant logos or icons. For instance, you can search for a WordPress logo in Canva’s Elements section if your blog is built on WordPress.
Logos help create a connection between the image and the platform, giving your readers a sense of familiarity.
In the example video, I added an Arrow Icon to enhance the visual flow, drawing the viewer’s eye towards key elements of the thumbnail.
You can play around with different icons in the Graphics section of Canva, testing various shapes and sizes until you find one that complements your layout.
Step 5: Resizing for Optimal Blog Use
Once you’ve finalized your design, it’s time to resize it for your blog post. For most blogs, a size of 750 x 500 pixels is ideal. To resize, click on the Resize button in Canva’s toolbar, enter the new dimensions, and select Copy and Resize.
This action will create a duplicate of your design with the adjusted size, leaving your original design intact.
Now, tweak the resized version slightly—move any text or icons that may have shifted due to the new dimensions. Ensure everything looks balanced and aligned before saving the file.
Bonus: Creating Thumbnails for Other Platforms
Not only is Canva great for blog thumbnails, but it’s also a fantastic tool for creating content across various platforms. Let’s say you also want to make a thumbnail for TikTok—easy!
Simply click on Resize again and enter TikTok’s recommended dimensions, which are 1080 x 1920 pixels. This adaptability makes Canva an all-in-one solution for multi-platform content creators.
Ready to Publish? Here’s Your Final Checklist
Before you hit publish, ensure you’ve saved your design in the correct format. For web use, PNG is often recommended because it provides the highest quality, but JPG works if you need a smaller file size.
Canva allows you to download your designs in various formats, so choose the one that works best for you.
After downloading, you can upload the thumbnail directly to your blog post in your preferred CMS (Content Management System).
Conclusion: Crafting the Perfect Thumbnail Is Simple with Canva
By following these steps, you can quickly create stunning, eye-catching thumbnails for your blog posts, YouTube videos, and more. Canva offers a versatile, beginner-friendly platform that enables you to design thumbnails without the need for expensive software or advanced graphic design skills.
And remember, if you need visual instructions, be sure to watch the video above for a step-by-step walkthrough.
For more tips and blog formatting services, feel free to check out our Blog Post Formatting & Publishing Service.
If you have any questions or need assistance with your blog design, don’t hesitate to contact us. We’re here to help you get the most out of your blogging journey.
Don’t forget to subscribe to our YouTube channel for more tutorials and design tips!


