
- Home
- Blog
- Blog Post Formatting Guides
- How to Create Tables in WordPress: Easy Guide for Beginners
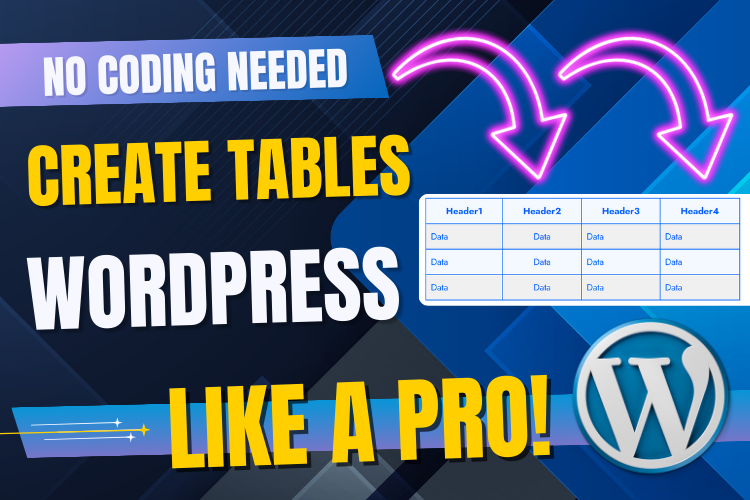
How to Create Tables in WordPress: Easy Guide for Beginners
WordPress is a powerhouse for creating and managing content, but many users often struggle with formatting, especially when it comes to tables. Whether you’re showcasing data, organizing information, or adding a touch of professionalism to your posts, tables play an essential role.
This guide walks you through how to create tables in WordPress using both the Gutenberg and Classic Editor. Let’s dive into this step-by-step tutorial and ensure your blog stands out!
Watch the Tutorial Video
For a detailed walkthrough, watch the video below:
Understanding the Importance of Tables in WordPress
Tables are more than just data presentation tools; they add clarity, structure, and visual appeal to your posts. Readers can quickly grasp complex information when it’s displayed in an organized format. This makes tables invaluable for bloggers, educators, and e-commerce websites.
But what if formatting a table feels overwhelming? Don’t worry—WordPress makes it easy, whether you’re using the Gutenberg Editor or the Classic Editor.
Good formatting is the bridge between information and understanding.
Creating Tables Using Gutenberg Editor
Step 1: Access the Post Editor
Start by logging into your WordPress dashboard. Navigate to the All Posts section and choose the post where you want to add a table. Click on Edit to open the Gutenberg editor.
Step 2: Adding a Table Block
- Click the + (Add Block) button where you want the table to appear.
- Search for the “Table” block and select it.
Step 3: Customize Rows and Columns
A prompt will appear, asking you to define the number of rows and columns. For example:
- Rows: 3
- Columns: 4
Click Create Table to generate it.
Every detail matters, even the smallest one, when it comes to user experience.
Step 4: Adjust Table Options
Gutenberg offers a host of customization options:
- Fixed Width: Use this to make cells the same size regardless of content.
- Dynamic Adjustment: Allow cells to resize based on the text they contain.
- Headers and Footers: Enable a header for column titles and a footer for notes.
Example Table:
| Name | Phone | Comments | |
|---|---|---|---|
| John | john@example.com | +123456789 | Pending Approval |
| Mary | mary@example.com | +987654321 | Approved |
Styling Options in Gutenberg
1. Text and Background Colors
Use the right-side panel to choose text and background colors for your table.
For instance:
- Accent text colors for emphasis.
- A contrasting background to highlight specific rows.
2. Stripe Design
Opt for a striped table design to differentiate rows visually.
To enable this:
- Go to the table settings on the right.
- Select Stripe Design and refresh the preview.
Creating Tables Using Classic Editor
If you prefer the Classic Editor, tables aren’t built-in, but plugins like Advanced Editor Tools simplify the process.
Step 1: Install the Plugin
- Navigate to the Plugins section in WordPress.
- Search for Advanced Editor Tools (formerly TinyMCE Advanced).
- Install and activate the plugin.
Step 2: Add a Table
- Open the post you want to edit in the Classic Editor.
- Use the plugin toolbar to select Table > Insert Table.
- Define the number of rows and columns as needed.
Step 3: Style and Customize
- Borders: Add solid, dashed, or dotted borders for clarity.
- Headers: Highlight the top row as a header for better readability.
- Text Alignment: Align text centrally for a polished look.
Advanced Customization Tips
- Typography Options: Change font size, style, and letter spacing directly within the editor.
- Cell Properties: Adjust padding, spacing, and cell height for a clean layout.
- Additional Rows and Columns: Easily add or remove rows and columns as your table evolves.
Why Choose PostUploader for Blog Formatting?
At PostUploader, we specialize in SEO-friendly blog post formatting. Whether it’s adding tables, embedding visuals, or enhancing readability, we’ve got you covered. Contact us here for personalized assistance.
Frequently Asked Questions
Conclusion
Creating tables in WordPress doesn’t have to be daunting. Whether you prefer the modern Gutenberg Editor or the Classic Editor, this guide equips you with the tools to create and customize tables effortlessly. For a complete visual tutorial, watch the embedded YouTube video above.
And don’t forget to subscribe to our YouTube channel for more tutorials. For tailored assistance with blog post formatting, reach out to us at PostUploader.
Good design is a language, not a style.


