
- Home
- Blog
- Blog Post Formatting Guides
- How to Add a Progress Bar in WordPress Using Kadence Block Plugin
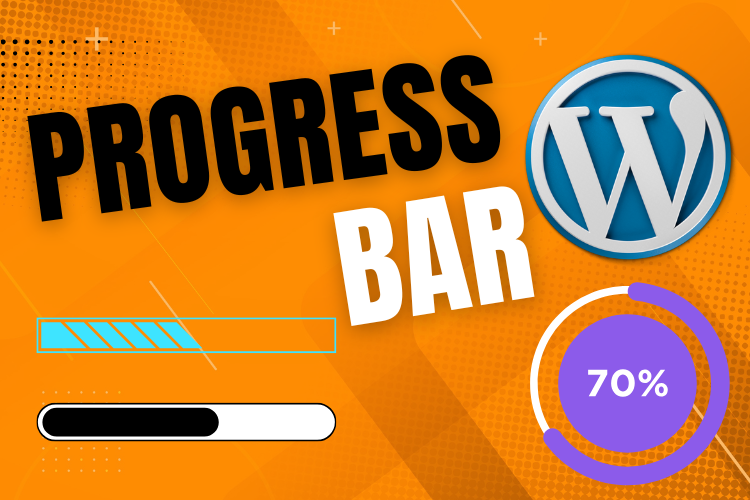
How to Add a Progress Bar in WordPress Using Kadence Block Plugin
Adding a progress bar to your WordPress site can elevate its functionality and design. Whether you want to showcase project completion percentages or provide a visual representation of goals, progress bars are versatile and engaging.
Using the Kadence Block plugin, you can effortlessly add and customize progress bars for your blog posts or pages.
Watch this step-by-step video tutorial for detailed instructions:
Why Add a Progress Bar to Your Website?
Progress bars are a great way to:
- Provide users with visual feedback.
- Encourage user interaction and better task management.
- Add a visually appealing design element to your content.
Step-by-Step Guide to Adding a Progress Bar
Step 1: Install the Kadence Block Plugin
- Log in to your WordPress dashboard.
- Navigate to Plugins > Add New.
- Search for Kadence Block.
- Click Install Now, then Activate the plugin.
The Kadence Block plugin provides a collection of advanced Gutenberg blocks, including the Progress Bar block.
Step 2: Add the Progress Bar Block
- Open the page or post where you want to insert the progress bar.
- Click the + icon to add a new block.
- Search for Progress Bar and select the block provided by Kadence Block.
- A default progress bar will now appear on your page.
Step 3: Customize the Progress Bar
The customization options for the progress bar allow for extensive styling and functionality.
1. General Settings:
- Progress Bar Types: Choose from Line, Circle, Mask Line, or Semi-Circle.
- Progress Thickness: Adjust the bar’s thickness for a bold or subtle look.
- Number Format: Display whole numbers or decimals to suit your requirements.
- Animation: Control the speed and type of animation for the progress bar.
2. Style Settings:
- Text Position and Alignment: Place the text above, below, or inside the progress bar.
- Colors and Fonts: Change the bar’s colors, text styles, and fonts for a cohesive design.
- Responsive Design: Ensure the progress bar looks great on desktops, tablets, and mobiles.
3. Advanced Settings:
- Margins and Padding: Fine-tune the spacing around the progress bar.
- Custom CSS: Add additional styles for unique designs.
Best Practices for Using Progress Bars
- Keep It Simple: Avoid cluttering your page with too many progress bars.
- Make It Relevant: Use progress bars to showcase metrics or project statuses that matter to your audience.
- Test for Responsiveness: Preview your design on various devices to ensure it looks and functions perfectly.
Frequently Asked Questions
Conclusion
Adding a progress bar using the Kadence Block plugin is simple yet impactful. Whether it’s for showcasing project milestones or visualizing data, progress bars enhance user experience and make your content more engaging.
Watch the video above for a complete guide.
If you have any questions or need further assistance with your blog design, feel free to contact us. Don’t forget to subscribe to our YouTube channel for more helpful tips and tutorials.


