
- Home
- Blog
- Blog Post Formatting Guides
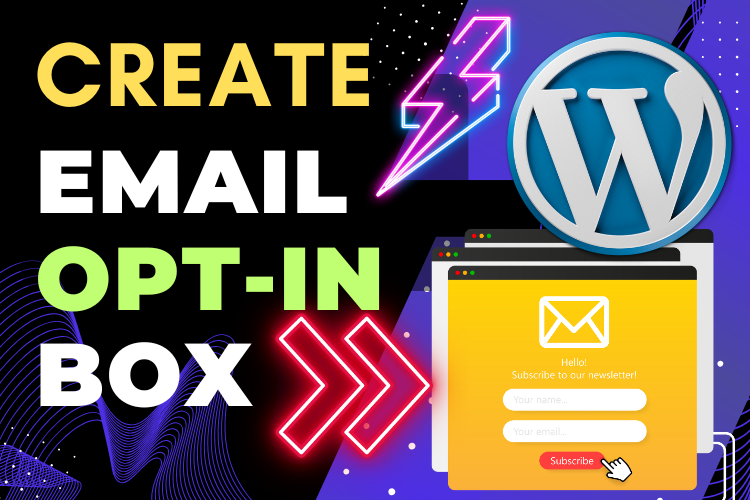
- How to Add an Email Opt-in Box to Your WordPress Website Using WP Kadence Block
How to Add an Email Opt-in Box to Your WordPress Website Using WP Kadence Block
“Every positive change you make to your blog brings you closer to your goals. Let’s step into this tutorial with gratitude and excitement as we transform your WordPress website into a magnet for opportunities and connections.”
Adding an email opt-in box to your WordPress website is a powerful way to connect with your audience, build trust, and grow your mailing list. Today, we’ll explore how to achieve this effortlessly using the WP Kadence Block plugin.
Watch This Quick Video Tutorial
For better understanding and a step-by-step walkthrough, please watch this YouTube tutorial:
“Seeing is believing! Dive into this video tutorial to watch the process come alive.”
What is an Email Opt-in Box and Why Is It Essential?
An email opt-in box is a simple yet effective tool to invite your visitors to subscribe to your newsletter, receive updates, or access exclusive content. It’s not just about growing your list; it’s about creating meaningful relationships with your audience.
Benefits of Adding an Email Opt-in Box:
- Stronger Connections: Stay in touch with your readers beyond their visit.
- Lead Generation: Grow your subscriber base for future campaigns.
- Brand Trust: A professional opt-in box reflects credibility.
“Gratitude opens the door to abundance. By offering valuable content, you naturally attract a loyal and engaged audience.”
Step 1: Install the WP Kadence Block Plugin
The first step to achieving your email opt-in goals is installing the WP Kadence Block plugin.
Steps to Install the Plugin:
- Log in to your WordPress dashboard.
- Navigate to Plugins > Add New.
- Type Kadence Block in the search bar.
- Click on Install Now and then Activate.
Congratulations! You’ve taken a huge step toward creating a functional and stylish subscription box.
Step 2: Add an Email Opt-in Box to Your Blog Post
With the plugin installed, we’re ready to add a beautiful subscription box to your WordPress post or page.
Steps to Add the Opt-in Box:
- Go to the All Posts section and select a blog post to edit.
- Place your cursor where you want to add the opt-in box, then click the + Add Block icon.
- In the search bar, type Form Advance, and select it from the options.
- Click Create New and select the second design option.
- From the available styles, choose Basic (you can explore Dark, Infield, or Underline later).
You’ll now see the email opt-in box appear in your post. Feel the joy of creating something beautiful and functional! Let’s refine it further.
Step 3: Customize the Opt-in Box Fields
Customization is where your creativity shines. Here’s how you can personalize the Name, Email, and Submit Button fields:
Name Field:
- Click on the Name field and explore the options on the right-hand panel.
- Enable the Required Field option if necessary.
- Add a Placeholder Text like “Your Name” for clarity.
- Optionally, add a Default Value for personalization.
Email Field:
- Follow the same steps as the Name field but ensure it is marked as Required (email is critical for submissions).
- You can add placeholder text like “Enter your email address.”
Submit Button:
- Click on the Submit Button to customize its style.
- Adjust the Size (Small, Medium, Large) and Width (Auto, Full).
- Style the button with custom colors, hover effects, and even icons.
💡 Pro Tip: For a polished look, use contrasting colors for the button and hover states to grab attention.
Step 4: Set Up Email Submission Settings
Now, let’s configure where the form submissions will go.
Email Settings:
- Select the entire subscription box by clicking on the top-left Group Icon.
- Navigate to the Submit Action and ensure Email is selected.
- Under Email Settings, add the email address where you’d like to receive submissions.
- Personalize the Success Message to confirm to users that their subscription was successful.
Celebrate this milestone! You’ve created a functional opt-in box that ensures smooth communication with your readers.
Step 5: Preview and Publish
With your opt-in box ready, it’s time to test and launch it on your blog.
- Save your changes and click on View Post to preview your design.
- Test the form to ensure all fields and email submissions work perfectly.
“Success is in the details. By reviewing and refining, you’re manifesting excellence in every step you take.”
Frequently Asked Questions (FAQs)
Conclusion: A Grateful Step Toward Success
By adding an email opt-in box using the WP Kadence Block plugin, you’ve created a valuable connection point for your audience. This simple addition is a powerful tool to nurture relationships, foster trust, and grow your community.
Every effort you make in improving your blog aligns with abundance and gratitude. Thank you for taking this positive step forward!
Take Action Today
✅ Watch the Video Tutorial for Visual Guidance: Watch Now
💬 Need Help? Contact us for personalized support: Contact Us
Let’s keep building your dream blog, one positive action at a time.


