
- Home
- Blog
- Blog Post Formatting Guides
- How to Easily Add Featured Image in WordPress
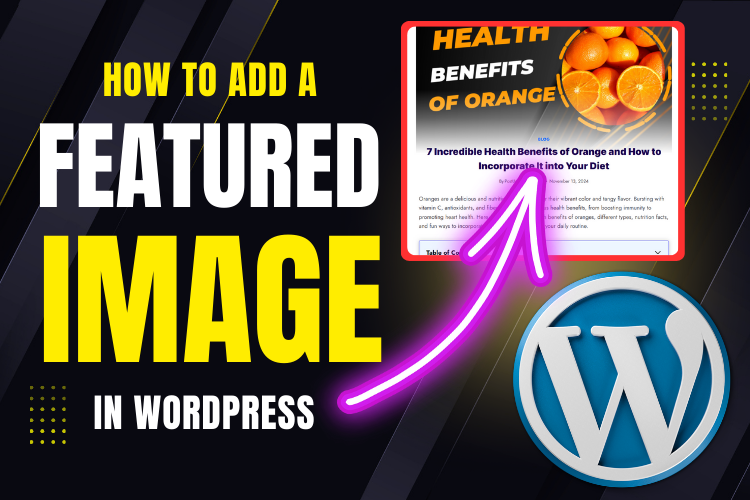
How to Easily Add Featured Image in WordPress
Featured images are the face of your blog posts, making them visually appealing and more likely to attract readers. Whether you’re using the Gutenberg editor or the Classic editor, adding a featured image is simple and can make a huge difference.
Let’s dive into the step-by-step process of adding featured images to WordPress blogs.
“A picture is worth a thousand words, but in blogging, it’s worth a thousand clicks.”
Images play a crucial role in content marketing. They enhance readability, boost engagement, and improve your blog’s SEO. The featured image, often displayed prominently above a post, is particularly important.
It sets the tone for the article, grabs attention, and represents your content in search results and social media previews.
If you’re wondering how to add a featured image in WordPress, this guide will show you the exact steps using both the Gutenberg editor and the Classic editor.
For a more in-depth tutorial, check out the YouTube video below:
Adding a Featured Image in WordPress Using Gutenberg Editor
The Gutenberg editor provides a user-friendly way to manage your WordPress blog.
Here’s how you can add or update the featured image in your posts:
1. Navigate to the Post Section
After opening your WordPress dashboard, click on the post you want to edit. This will take you to the Gutenberg editor interface.
2. Locate the Featured Image Option
On the right-hand side of the screen, you’ll see a panel labeled Post. Expand this section to find the Featured Image option.
3. Remove or Add a Featured Image
If an image is already set, you’ll see it displayed here. To change it, simply click Remove Featured Image and then click Set Featured Image.
4. Upload or Choose from Media Library
You can now either upload a new image from your computer or choose an existing one from the Media Library.
5. Add Alt Text and Caption
It’s important to fill in the Alt Text field. This not only improves accessibility but also helps search engines understand your image. Add a caption if necessary.
6. Save and Preview
Once you’ve set the image, click Update to save your changes. Use the Preview button to ensure the image appears as intended.
Adding a Featured Image Using Classic Editor
If you’re still using the Classic editor, adding a featured image is just as straightforward. Here’s how:
1. Open the Post in Classic Editor
Navigate to the post you want to edit and select Edit with Classic Editor.
2. Scroll Down to Find Featured Image Section
Unlike the Gutenberg editor, the featured image section is located below the main text editor.
3. Set Featured Image
Click on the Set Featured Image button. Like with Gutenberg, you’ll be directed to the Media Library where you can upload or select your image.
4. Optimize Image SEO
Don’t forget to add Alt Text for SEO purposes before clicking Set Featured Image.
5. Save Changes
Hit the Update button to apply the changes and view the updated post.
Why Alt Text is Crucial for Featured Images
Alt text, short for alternative text, is a description of an image. It improves your blog’s accessibility and helps search engines understand your content. For instance, if your image fails to load, the alt text will describe the image’s purpose. Here’s an example of effective alt text:
- Poor Alt Text: “image1.jpg”
- Effective Alt Text: “A step-by-step guide to adding featured images in WordPress.”
“SEO isn’t about tricking search engines; it’s about creating a great user experience.”
Common Problems When Adding Featured Images
Even with a clear tutorial, some issues might arise.
Here are solutions to common problems:
- Image Not Displaying Properly: Ensure the file format is JPEG or PNG and the size is optimized for web usage.
- Unable to Find Featured Image Option: Check your theme settings; some themes may hide the featured image option.
- Slow Page Load Times: Use an image compression plugin to optimize the image file size.
FAQs
Conclusion
Adding a featured image in WordPress is an essential skill for any blogger. It not only enhances your post visually but also boosts SEO and reader engagement. Whether you prefer the Gutenberg editor or the Classic editor, the steps are simple and effective.
For a more detailed walkthrough, watch the embedded video above. It provides additional tips and insights to master featured image optimization.
Don’t forget to subscribe to our YouTube channel for more WordPress tutorials. If you have any questions or need help with blog formatting, contact us today!


