
- Home
- Blog
- Blog Post Formatting Guides
- How to Add Customizable Spacer and Divider in WordPress Using Kadence Block
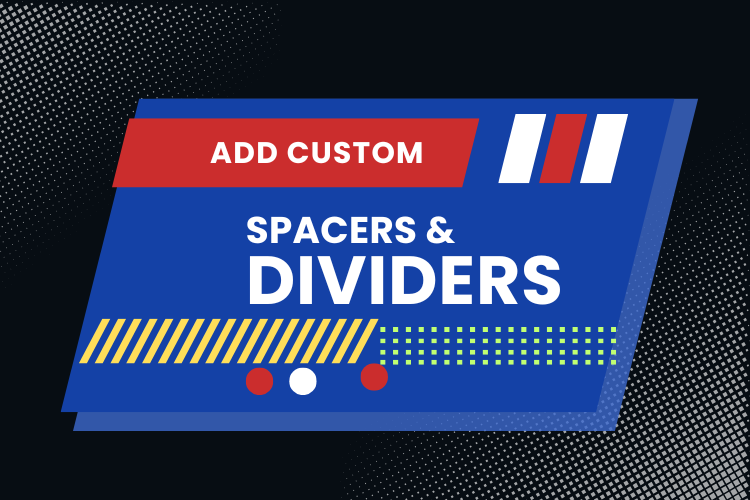
How to Add Customizable Spacer and Divider in WordPress Using Kadence Block
Creating a clean and visually appealing layout for your WordPress site is essential to keep your audience engaged. Spacers and dividers play a vital role in structuring your content.
With the Kadence Block plugin, you can easily add customizable spacers and dividers, offering full control over their appearance and placement.
Watch the detailed step-by-step tutorial below to learn more:
Why Add a Spacer or Divider to Your WordPress Site?
Adding spacers and dividers can:
- Enhance content readability.
- Visually separate sections for a polished design.
- Add a professional touch to your blog or webpage layout.
Spacers ensure sufficient white space, while dividers create clear boundaries between different elements, making your site visually appealing and easier to navigate.
Step-by-Step Guide to Adding a Spacer and Divider
Step 1: Install the Kadence Block Plugin
- Log in to your WordPress dashboard.
- Go to Plugins > Add New.
- Search for Kadence Block in the search bar.
- Click Install Now, then activate the plugin.
This plugin provides advanced Gutenberg blocks, including the Spacer/Divider block, enabling you to design your pages effortlessly.
Step 2: Add a Spacer or Divider Block
- Open the post or page where you want to add the spacer or divider.
- Click the + icon to add a new block.
- Search for Spacer/Divider and select the block provided by Kadence Block.
Step 3: Customize Your Spacer or Divider
1. Spacer Settings:
- Adjust Height: Use the slider or enter values in pixels to set the exact height of your spacer.
- Align the Divider: You can align it to the left, center, or right.
2. Divider Settings:
- Enable/Disable Divider: Turn the divider on or off within the Spacer block.
- Change Divider Style: Choose between solid, dashed, dotted, or striped styles.
- Adjust Thickness and Width: Increase or decrease the divider height and width for optimal appearance.
3. Stripe Customization:
If you select the striped divider style, you can:
- Adjust the angle of the stripes.
- Control the gap between stripes.
- Modify the width of the stripes for a custom look.
Best Practices for Using Spacers and Dividers
- Keep It Minimal: Avoid overusing spacers and dividers to maintain a clean design.
- Use Striped Styles Sparingly: While visually appealing, striped dividers should be used for emphasis, not everywhere.
- Ensure Responsiveness: Preview your design on various devices to ensure the spacers and dividers fit well.
Advanced Customization Options
For those who wish to go beyond basic settings, Kadence Block offers Advanced Settings where you can:
- Adjust visibility settings for desktop, tablet, and mobile views.
- Add custom CSS for unique styling.
These features allow you to tailor the spacer or divider to fit your website’s theme seamlessly.
Frequently Asked Questions
Conclusion
With the Kadence Block plugin, adding and customizing spacers and dividers becomes incredibly easy. These design elements help you create a professional and structured layout, improving user experience and readability.
Watch the tutorial above for a complete walkthrough.
Need help with formatting or publishing your blog posts? Contact us for expert assistance. And don’t forget to subscribe to our YouTube channel for more useful tips and tutorials!


