
- Home
- Blog
- Blog Post Formatting Guides
- How to Add a Disclaimer Box to Blog Posts: A Step-by-Step Guide
How to Add a Disclaimer Box to Blog Posts: A Step-by-Step Guide
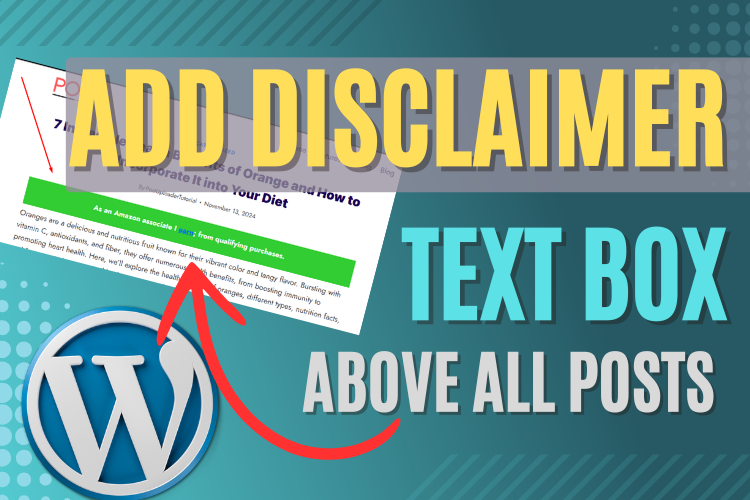
Adding disclaimer or notice boxes to blog posts is essential, especially for websites that need to display legal information, affiliate disclaimers, or promotional announcements.
Whether you’re running an e-commerce website or doing affiliate marketing, knowing how to place such elements properly can enhance the professionalism of your blog.
In this guide, we’ll walk you through how to use the “AD Inserter” plugin to embed a disclaimer box before your blog content.
Follow along as we explain everything step by step, and don’t forget to watch the video for a visual guide.
Why You Need a Disclaimer Box
A disclaimer box is more than just a text block—it adds credibility and legal protection to your blog posts. Whether you’re dealing with Amazon affiliate links or showcasing promotional offers, a well-placed disclaimer ensures that you’re transparent with your audience while meeting compliance requirements.
Additionally, a disclaimer box can improve user experience by drawing attention to important notices without cluttering your main content.
Watch the Video for Visual Instructions
Before we dive into the step-by-step guide, make sure to watch the following video for visual instructions. This will give you a clear understanding of the process, showing you how to install the necessary plugin, customize the disclaimer box, and insert it properly into your posts.
Installing the “AD Inserter” Plugin
The first step in adding a disclaimer box is to install the “AD Inserter” plugin. This tool allows you to embed custom codes, including CSS, HTML, or JavaScript, anywhere in your blog.
It’s a versatile plugin that can help display a variety of announcements across your entire website or specific posts.
How to Install “AD Inserter”
- Go to your WordPress dashboard and navigate to the Plugins section.
- Click on Add New and search for AD Inserter.
- Once you find the plugin, click on Install and then Activate.
The plugin is now ready to be used, and you can start inserting your custom disclaimers or notice boxes right into your blog posts.
Creating and Customizing Your Disclaimer Box
Now that the “AD Inserter” plugin is installed, let’s move on to adding and customizing your disclaimer box. In this section, we will use CSS code to customize the box’s appearance, allowing you to change its color, size, and positioning based on your preferences.
Inserting the Disclaimer Code
- Open the AD Inserter settings by going to Settings > AD Inserter on your WordPress dashboard.
- Paste the following custom code into the AD Inserter block:
Code
<div style=”background-color: #32cd32; color: white; font-size:24px;font-style:italic;padding:20px;”>
<!–googleoff: all–>
<center>
<b>
We Are <a href=”https://www.postuploader.com/” target=”_blank” rel=”noopener”>PostUploader.com</a>; We love to help WordPress Blogger.
</b>
</center>
<!–googleon: all–>
</div>
- In the plugin settings, select Before Content if you want the disclaimer box to appear before your blog content. You can also choose to display it after a specific number of paragraphs if needed.
- Click Save Settings and refresh your blog post to see the changes.
Customizing the Appearance
One of the great advantages of the AD Inserter plugin is that it allows for easy customization using CSS. You can modify the background color, text color, padding, or border style to match your website’s design.
Here’s a quick guide to the key customization options:
- Background Color: Change the color of the disclaimer box by modifying the background-color value.
- Text Color: Customize the color of the text using the color property.
- Padding and Borders: Adjust the padding to control the space around the text or add a border if you prefer.
For example, if you want a blue background with white text, simply replace the color codes like this:
Code
<div style=”background-color: #0000FF; color: white; font-size:24px;font-style:italic;padding:20px;”>
<!–googleoff: all–>
<center>
<b>
We Are <a href=”https://www.postuploader.com/” target=”_blank” rel=”noopener”>PostUploader.com</a>; We love to help WordPress Blogger.
</b>
</center>
<!–googleon: all–>
</div>
Displaying the Disclaimer on Specific Posts
If you only want the disclaimer to appear on certain posts, you can customize it.
Simply navigate to the post you want to edit and follow these steps:
- Edit the post where you want the disclaimer box to appear.
- Use the Custom HTML block to add your disclaimer code inside the post.
- Preview the post to ensure the disclaimer displays correctly in the desired location.
This method allows for flexibility, giving you control over which posts show the disclaimer box.
SEO Considerations for Disclaimers
Having the same disclaimer text appear at the top of every blog post can potentially harm your SEO by causing duplicate content issues. To prevent this, the code provided in this tutorial ensures that Google won’t index the disclaimer text.
This keeps your blog optimized for search engines while still complying with necessary legal and promotional notices.
Frequently Asked Questions
Final Thoughts and Next Steps
Now that you know how to add and customize a disclaimer box for your blog posts, it’s time to implement this feature and ensure your blog remains transparent and compliant.
Make sure to revisit the video tutorial for any further clarification, and subscribe to our YouTube Channel to stay updated with more tips and tricks.
Additionally, if you need help formatting and publishing your blog posts, our Blog Post Formatting & Publishing Service can assist you with professional services to take your content to the next level.
Feel free to reach out via our Contact Us page for more information!


