
- Home
- Blog
- Blog Post Formatting Guides
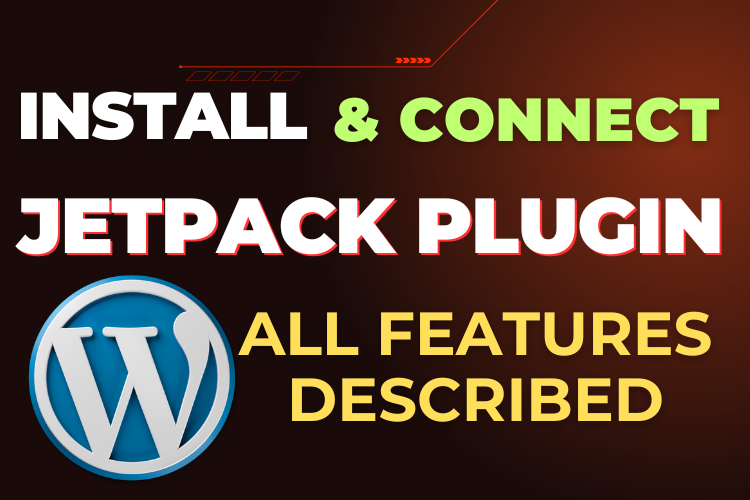
- How to Install Jetpack Plugin in WordPress: A Complete Guide
How to Install Jetpack Plugin in WordPress: A Complete Guide
Are you looking to enhance your WordPress site’s functionality while ensuring top-notch performance and security? The Jetpack plugin might be the solution you’re seeking!
In this comprehensive guide, we’ll walk you through the process of installing and configuring Jetpack for your WordPress website. Whether you’re a beginner or a seasoned blogger, understanding Jetpack’s features can transform your blogging experience.
For a visual walkthrough, watch the YouTube video below for step-by-step instructions:
What is Jetpack Plugin?
Jetpack is an all-in-one WordPress plugin designed to supercharge your site with features like enhanced security, improved performance, and streamlined content sharing.
Trusted by millions of website owners, Jetpack provides tools that cater to every aspect of website management, from traffic analytics to automated social media posting.
“Jetpack simplifies complex website management tasks, making it a must-have for any WordPress user.”
How to Install Jetpack Plugin in WordPress
Step 1: Navigate to the Plugins Section
Log in to your WordPress dashboard and locate the “Plugins” option in the left-hand menu. Click on “Add New” to access the plugin repository.
Step 2: Search for Jetpack
In the search bar, type “Jetpack” and locate the official plugin by Automattic. This plugin typically appears at the top of the results.
Step 3: Install and Activate
Click “Install Now,” and once the installation is complete, hit “Activate.” You’ll then be prompted to connect your website with a WordPress.com account.
Step 4: Connect Your WordPress.com Account
Use your WordPress.com credentials to log in. If you don’t already have an account, create one—it’s free and straightforward.
Step 5: Configure the Basic Settings
Choose the free plan to access essential features. Once connected, Jetpack is ready for further configuration.
Exploring Jetpack Features
Security Features
- Downtime Monitoring: Receive instant email notifications if your site goes down.
- Firewall Protection: Block malicious traffic and safeguard your website.
- Brute Force Protection: Prevent automated login attempts to protect your site’s integrity.
“Prioritizing website security is non-negotiable in today’s digital landscape.”
Performance Enhancements
- Image Optimization: Reduce image load times using Jetpack’s global CDN.
- Static File Delivery: Optimize CSS and JavaScript for faster loading.
Social Media Sharing
Enable automatic sharing of your blog posts across social platforms like Facebook, Instagram, and LinkedIn.
Configuring Jetpack for Maximum Benefits
Jetpack offers a variety of sections to customize, ensuring it aligns perfectly with your site’s goals:
Settings Overview
- Security: Activate downtime monitoring, firewall, and brute force protection.
- Performance: Enable faster loading for images and static files.
- Sharing: Automatically share content on social media and add share buttons below your posts.
Traffic Insights
Access daily statistics to monitor site performance, including visitor counts, geographical data, and external clicks.
Why Choose Jetpack?
Jetpack streamlines website management by combining multiple plugins into one powerful tool. From improving SEO to enhancing user engagement, its features are invaluable for bloggers and business owners alike.
“The beauty of Jetpack lies in its versatility—it caters to both technical and non-technical users.”
Conclusion
Jetpack is more than just a plugin; it’s a toolkit that transforms your WordPress site into a powerhouse. Whether you’re securing your blog, optimizing performance, or amplifying your reach through social sharing, Jetpack covers it all.
To dive deeper into the installation process, revisit the video embedded above. If you need personalized assistance or have questions about blog formatting, feel free to reach out to us using the link below: Contact us for any blog-related queries!
Don’t forget to subscribe to our YouTube channel for more tutorials: Subscribe Here


