
- Home
- Blog
- Blog Post Formatting Guides
- Mastering 301 Redirection for WordPress URLs: A Step-by-Step Guide
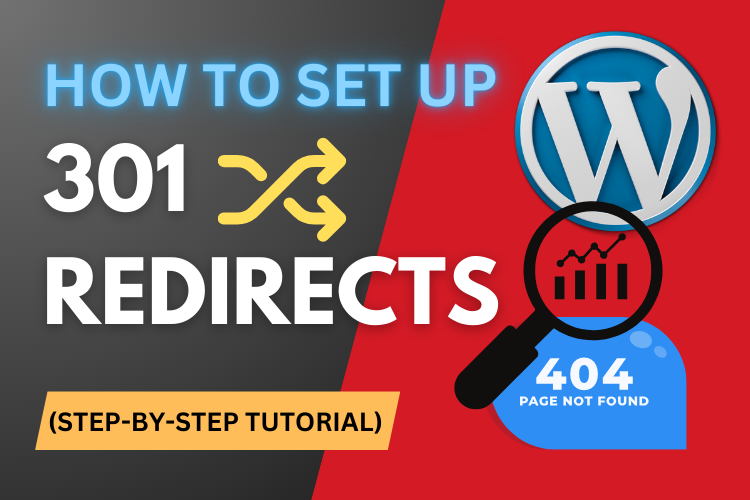
Mastering 301 Redirection for WordPress URLs: A Step-by-Step Guide
Making changes to your blog post URLs? It’s crucial to set up 301 redirection to avoid frustrating your visitors with “404 errors” and losing SEO rankings. In this blog, we’ll walk you through how to seamlessly enable 301 redirection when you update the URL of a blog post in WordPress.
In today’s digital world, SEO is one of the most critical factors for a website’s success. Ensuring that your website is optimized, both technically and content-wise, helps retain visitors and attract potential customers.
A common yet often overlooked issue is URL management, particularly when updating old blog post links. Enter 301 redirection—the process that ensures users who click on your old URL get redirected to the new one without seeing the dreaded “404 page not found” error.
For WordPress users, the good news is that there are simple ways to enable this feature. By following a few easy steps, you can set up 301 redirects, helping your site maintain good user experience and SEO rankings.
Watch the Video for Visual Instructions
For a more visual guide, watch the following video embedded below. It provides step-by-step instructions on setting up 301 redirection in WordPress.
Why You Need 301 Redirection in WordPress
When you change the URL (also called “permalink”) of a blog post, users who click on the old link may encounter a 404 error unless redirection is set up. This error signals search engines that your page no longer exists, which can negatively affect your SEO and leave visitors frustrated.
However, by enabling 301 redirection, anyone who lands on your old URL will be automatically redirected to the new one. This simple but powerful tool can protect your search rankings and ensure visitors find what they’re looking for.
How to Enable 301 Redirection in WordPress: Step-by-Step
Let’s walk through how to set up 301 redirection on your WordPress website. The method we’re showing today is one of the easiest and most effective ways to manage URL changes.
Install the Redirection Plugin
First, we need to install a plugin that will handle the redirections for us. The plugin we recommend is the Redirection Plugin by John Godley, which has over 2 million active installations.
- Go to your WordPress dashboard and navigate to the Plugins section.
- Click on “Add New” and search for “Redirection.”
- You’ll see several options, but make sure to install the one by John Godley. You can recognize it by the millions of active installations.
- Click on “Install Now” and once installed, hit “Activate.”
Set Up the Redirection Plugin
After activation, you’ll be prompted to complete the plugin setup. Here’s how:
- Once you install and activate the plugin, a message will appear saying, “Please complete your Redirection setup to activate the plugin.”
- Click on the Redirection setup link to begin the configuration process.
- During the setup, you’ll encounter options like monitoring permalink changes in WordPress posts and pages. Enable this option to ensure that any future permalink changes are automatically redirected to the new URL.
- There’s also an option to log all redirects and 404 errors, but we recommend not enabling this as it can unnecessarily increase your database size. Instead, continue without enabling this feature.
Testing 301 Redirection
Now that the plugin is configured, let’s test to ensure it’s working correctly.
- Go to your WordPress post section and pick a blog post you want to update.
- Change the permalink (URL) of the post. For example, if your original URL was “example.com/old-post,” change it to something like “example.com/new-post.”
- Save the changes, and now test the old URL. Copy and paste the old URL into a new browser tab.
If the redirection is set up correctly, you’ll be redirected from the old URL to the new one without any issues.
Why 404 Errors Hurt Your SEO
Having multiple 404 errors on your site can be detrimental to your SEO rankings. When search engines crawl your site and come across a 404 error, they register that a page is missing, which could result in a lower ranking over time.
Furthermore, users who encounter 404 errors might get frustrated and leave, which increases your site’s bounce rate. High bounce rates can also signal to search engines that your content is not meeting user expectations.
By setting up 301 redirects, you can avoid these issues altogether, ensuring that both users and search engines are seamlessly directed to the correct content on your site.
Best Practices for 301 Redirection
- Always test the redirects after making changes to URLs. This ensures everything is working properly.
- Keep your redirects updated. Whenever you change a URL, make sure that a 301 redirect is in place immediately.
- Avoid creating too many redirects in a chain. Redirect chains can slow down the page load time and harm the user experience.
Frequently Asked Questions
Conclusion
Setting up 301 redirection is an essential task for anyone managing a WordPress website. It helps prevent 404 errors, maintains your SEO ranking, and ensures a smooth user experience. If you want to make sure your website stays optimized and user-friendly, don’t overlook this important feature.
For more visual guidance, make sure to watch the video above and follow along with the steps shown. And don’t forget to subscribe to our YouTube channel here to get more helpful videos! Looking for help with formatting and publishing your blog posts?
Check out our Blog Post Formatting & Publishing Service to make your content shine. If you have any questions, feel free to contact us.


