
- Home
- Blog
- Blog Post Formatting Guides
- How to Create a Contact Form on WordPress with Contact Form 7
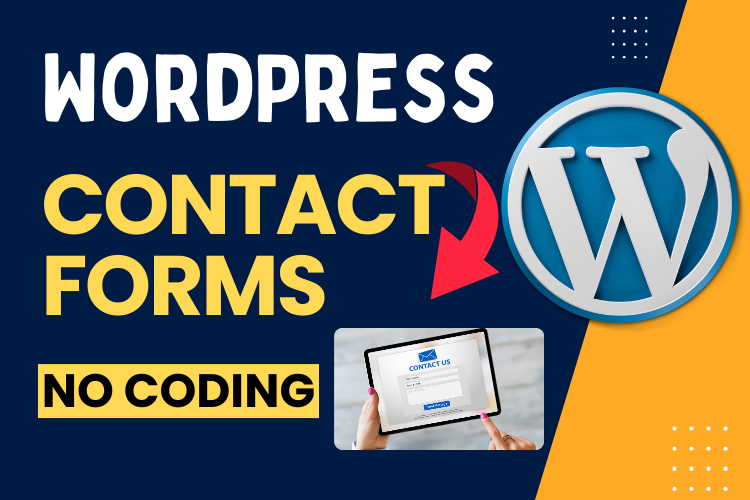
How to Create a Contact Form on WordPress with Contact Form 7
In this guide, we will walk you through the process of creating a contact form on your WordPress website using the popular Contact Form 7 plugin. Contact forms are essential for any website, allowing visitors to easily reach out to you.
Whether you’re new to WordPress or simply looking for a better way to manage form submissions, this tutorial will cover everything you need to know.
Before diving into the steps, make sure to check out the embedded video below for a full visual walkthrough.
Watch the following video for visual instructions:
Why Use Contact Form 7 for WordPress?
There are many plugins available for adding contact forms to WordPress, but Contact Form 7 stands out for several reasons. It’s free, highly customizable, and boasts more than 10 million active installations.
It allows you to create multiple forms, manage submissions, and ensure data is sent directly to your admin email. In this post, we will explore the benefits and show you how to set up a fully functional contact form on your site.
Installing the Contact Form 7 Plugin
To get started, head to your WordPress dashboard.
Here’s a quick breakdown of the steps:
- Log into your WordPress dashboard.
- Navigate to the Plugins section and click on Add New.
- In the search bar, type Contact Form 7.
- Once you find it, click Install Now and wait for the installation to complete.
- Finally, click Activate.
Contact Form 7 is now ready to be configured on your WordPress site.
Setting Up Your First Contact Form
Once the plugin is activated, it automatically generates a default contact form for you.
To view and edit this form, follow these steps:
- In your WordPress dashboard, navigate to Contact > Contact Forms.
- You’ll see the default contact form listed. To edit, click on the Edit link.
- From here, you can adjust the fields of the form. For instance, if you want to collect additional information from users, such as a phone number, you can add a new field.
To add new fields, use the Form Editor to create fields such as text boxes, email inputs, and dropdowns. You can also make certain fields required, ensuring that users cannot submit the form without filling out those details.
Customizing Form Settings
When creating a contact form, you want to make sure the information is sent to the right person. In the Mail tab, you’ll configure where emails generated from the form will go. By default, emails will be sent to the site’s admin email.
Here’s how you can customize the settings:
- To: The email address where form submissions should be sent (usually your admin email).
- From: This field indicates who sent the email (the user’s name and email address).
- Subject: Customize the subject line for your emails, ensuring it reflects the nature of the form submission.
- Additional Headers: Include additional details if necessary.
- Message Body: Structure the body of the email in a way that makes it easy to read the form’s responses.
These settings are important for tracking and responding to form submissions efficiently.
Handling Form Errors and Notifications
Errors and confirmation messages are part of the user experience when filling out a form.
Thankfully, Contact Form 7 comes with preset error and success messages that you can customize:
- Success Message: Displayed when the form is submitted successfully. For example, “Thank you for your message. It has been sent.”
- Error Message: If there’s an issue with the form submission, such as a missing required field, a message like “There was an error trying to send your message. Please try again later.” will appear.
These prompts guide users through the submission process and reduce frustration if something goes wrong.
Embedding the Contact Form on a Post or Page
Now that your form is set up, it’s time to embed it on your website. Contact Form 7 uses a simple shortcode system, making it easy to add the form to any post or page.
Here’s how:
- Copy the shortcode provided for your form.
- Go to the Post or Page where you want to add the form.
- Paste the shortcode in the content editor.
- Save your changes and refresh the page to see the form live.
You can place the form anywhere within your content. It’s common to include it at the end of a blog post or on a dedicated “Contact” page.
Adding More Fields to Your Form
If you need additional fields, such as a phone number or dropdown selection, Contact Form 7 makes this easy.
For instance, to add a phone number field:
- Open the form you want to edit.
- Place the cursor where you want the new field to appear.
- Use the Telephone Field button from the editor and insert it.
- Decide whether to make the field required or optional.
Save the changes, and your form will now include the new field.
Testing Your Form
Before going live, it’s essential to test the form to ensure everything works properly. Fill out the form as a visitor would, using both valid and invalid inputs to check how error messages and success notifications appear.
For example, submitting without an email will prompt an error, while completing all fields correctly will show the success message.
Frequently Asked Questions
Conclusion
Setting up a contact form on WordPress using Contact Form 7 is a straightforward process, and it gives you complete control over form submissions on your site. Whether you’re adding a simple contact form or a more detailed submission form, this plugin can handle your needs.
Be sure to watch the video above for a visual step-by-step guide, and subscribe to our YouTube channel for more tutorials like this one. If you’re ready to enhance your blog with easy-to-use contact forms, start today!
If you’re looking for help with formatting and publishing your blog posts, check out our Blog Post Formatting & Publishing Service. Need further assistance?
Feel free to contact us anytime!


